Introduction
A year ago, I wrote an article on holistic masking that described in detail that masking is not an isolated activity in post-processing but an activity dictated by the type of photo at hand and the type of desired adjustments needed for the end result. Even though the article was also meant to be practical, I think the reader would benefit more when the main activities and steps are presented in a step-by-step format.
This post, therefore, will give you a step-by-step overview of how to apply holistic masking using Adobe’s AI selection features as a masking starting point that needs to be finetuned. When the what or why is not clear then please refer to the original article for background information. And for the use of Adobe’s AI features as a starting point, then please refer to this article from earlier this year.
A bit of terminology
First, a bit of terminology for the sake of clarity.
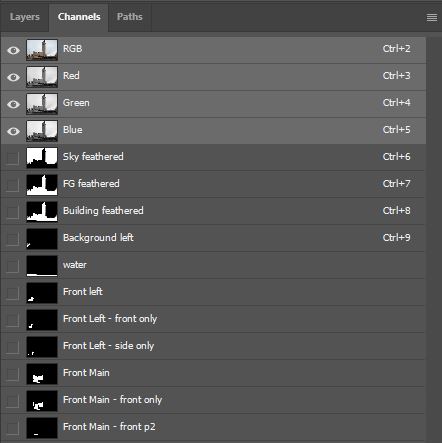
Channel masks and layer masks
In the context of masking, when we talk about masks, we are always referring to channel masks and not to layer masks. Layer masks can only be found in the layers panel of Photoshop and are not the same as channel masks that can only be found in the channels panel of Photoshop.
A channel mask is the saved selection. The selection that we load can be loaded from the channel mask and can usually be recognized as ‘marching ants’. For the rest of the article, I will only use the word masks when referring to channel masks.
Hard masks and soft masks
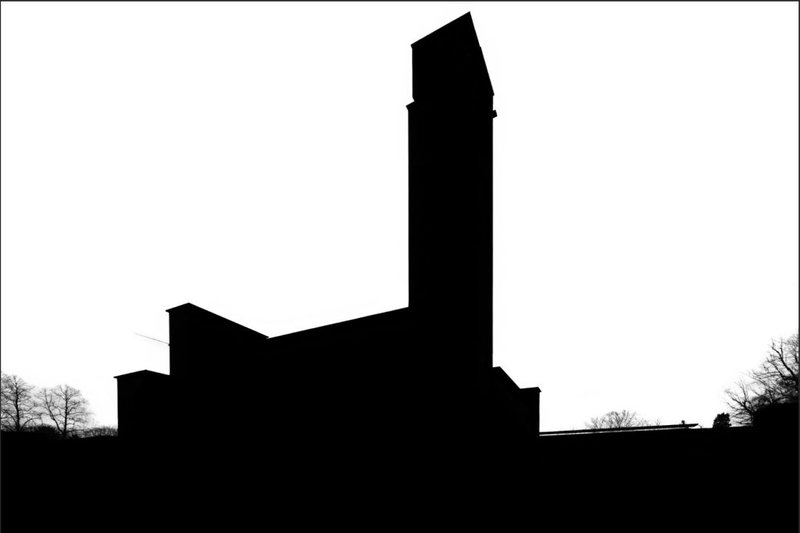
Hard masks are only pure white and black. White indicates what is selected, and black indicates what is not selected. Hard masks with hard edges are used to isolate objects and planes with clear identifiable edges.
Soft masks, or luminosity masks, can be anything between pure white and black. The lighter the mask, the more is selected. Soft masks have no clear edges and are used to isolate areas with specific light intensities often without any clear identifiable edges.
In the context of this article when we talk about creating masks, we talk about creating hard masks. Luminosity masks can be automatically generated.
Outline Masking Steps
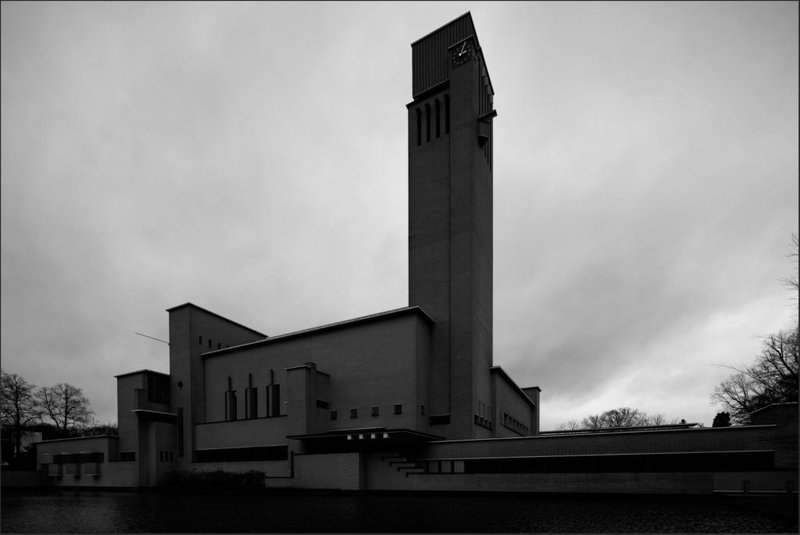
- Determine what your end result should look like and what adjustments are needed to achieve that result.
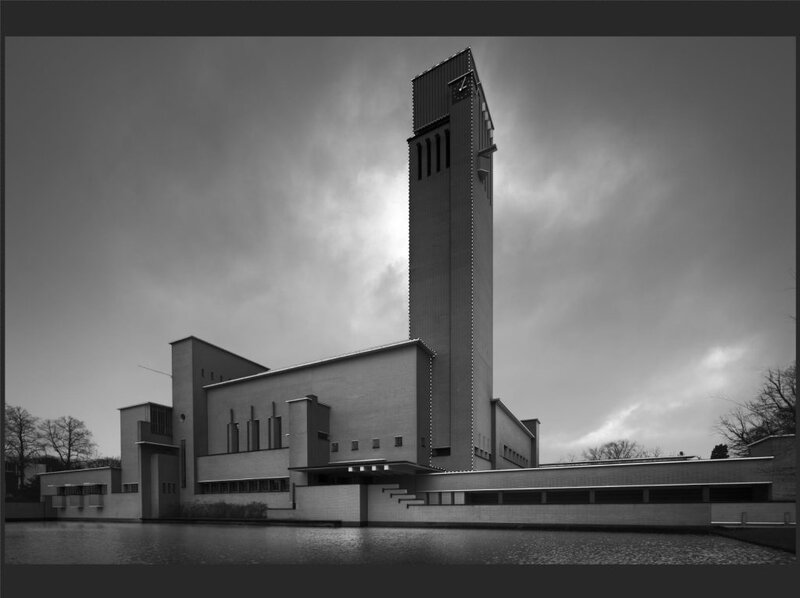
- If you need to control and adjust tonality, contrast, and light within objects or planes, then always create hard masks. Identify the objects and planes you want to control and adjust with selections.
There are two situations:
[1] The plane or object has clear and identifiable edges
- Create hard masks with hard accurate edges. A smooth and natural transition from adjusted to unadjusted areas is not needed since the edges are identifiable and adjustments only take place within the edges. The accuracy of the mask is critical.
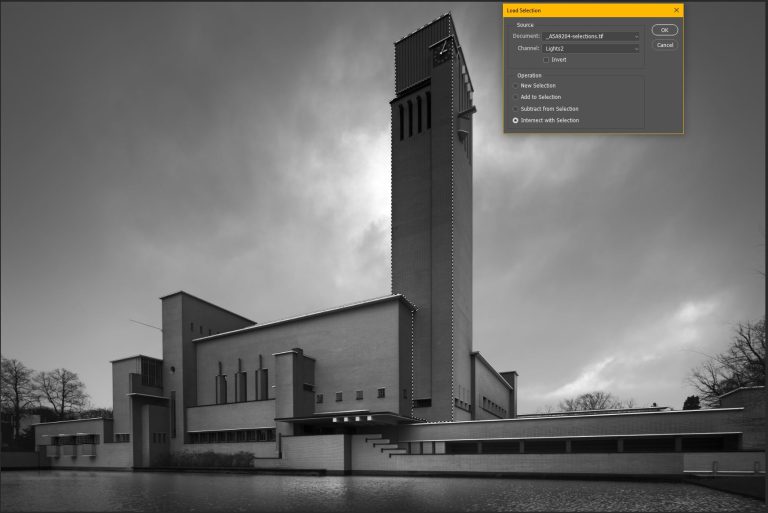
- You can create and use luminosity masks for even more control, in combination with hard masks by intersecting hard masks with luminosity masks. I would not recommend using luminosity masks only without intersected hard masks. Precise adjustments are easily possible by localizing the adjustment using hard masks.
[2] The plane or object doesn’t have clear and identifiable edges, or only partially identifiable.
In this case, it is needed to resolve the hard edge of the mask to have a subtle and natural transition from adjusted to unadjusted area. Create rough masks using one of the following methods:
- The object or plane can be selected in a linear and rectangular selection then you can control the blending (the seamless and natural transition from adjusted to unadjusted area) by applying a restore step. This is an automated technique in the Artisan Pro panel. See the video here for an example. Restore can also be done manually using Photoshop only. You can only find this technique in my video tutorial since I developed this technique. I also explain the manual method in the webinars I frequently do. The restore technique ensures that the transition from adjusted to unadjusted area is subtle, natural, and invisible. This is by far my favourite method with a high degree of control and precision in the transition.
- The object or plane is amorphous and cannot be selected in a rectangular selection. In this case, you have to follow the shape of the object or plane roughly and then feather the selection with 150.1 px and a shift edge of -6. The feathering depends on the size of the selection and the image. This setting will work for most average-size selections in an image with a size of 10Mp to 70Mp. In the Artisan Pro panel, this is automated by turning on ‘Auto blending’. Artisan Pro will automatically detect the image size and selection size and adjust the feathering when selections or images are considerably smaller. This method ensures that the transition from adjusted to unadjusted area is subtle, natural, and invisible
*Also in the case of unidentifiable edges, with rectangular or amorphous shapes, it is highly recommended to use luminosity masks within the hard masks.
Intersecting masks
As indicated earlier: I would not recommend using luminosity masks only without intersected hard masks. Hard masks with hard edges or soft edges will give control over adjustments applied to objects or planes. In other words, hard masks localize adjustments. Luminosity masks, or soft masks affect the entire image and any adjustments applied are global unless you use the brush. However, using the brush to localize adjustments is not very accurate. To localize the effect of the adjustment using a luminosity mask, you have to use a hard mask of the target area where you want the effect to take place. Then use the luminosity mask inside that target area indicated and restricted by the hard mask. This is called ‘intersecting masks’ and it merely means in this context, localizing the adjustments.
The way to do that is to load the hard mask first and then load the luminosity mask and check ‘intersect with selection’. This will intersect the hard mask with the luminosity mask. In other words: this will ensure that the luminosity mask will only have an effect within the area determined by the hard mask. After the adjustment has been made with the intersected selection and there’s no identifiable hard edge in the object or plane, then you can use the restore method or the feathered selection method for amorphous shape, to create a subtle and invisible transition from adjusted to unadjusted area.
Best to learn via video or webinars
There’s much more to masking than described here. This needs to be read in combination with the other article linked to in this post. But it is hard to learn from written articles only. Due to the specific and visual nature of masking, live demonstrations will always be preferred. For that reason, I have announced a 3.5-hour Integrated Masking webinar for November 10, in which I will go through all the above and more. I will also demonstrate how the masks will be applied in various image adjustments.
Finally, there’s also the 5-hour Advanced Masking video that explains everything in detail. The video was released more than 4 years ago before Adobe’s AI was effectively released to support masking in Photoshop. The part where I would use Adobe’s AI selection features to create the base mask to be finetuned is therefore not demonstrated in the video.

